Showing posts with label Mini Monsters. Show all posts

Sunday, November 7, 2010

Oh Baby

baby baby oh yeah....sorry!! If I have to have that stuck in my head so do you! and since that needs-a-haircut moppet is currently the object of my daughter's affection, we have to listen to that a lot around here!But I digress...

I have been working on these two baby books for a while because I had the brilliant (read stupid) idea to make two 8x8 books for my colleagues who recently had babies; and of course the plan was they would be gifts before the baby was born...umm yeah...so now I will be satisfied if they make it to baby's first Christmas. I went to an all day crop, and got 14 pages done. Before that impresses you, it was really 7 pages done twice, as one is for a boy and one for a girl. Now I only have 4 pages in each left to do...I can see the light at the end of the overextended crafting tunnel!!

On to the pages already!!

The crafty details:

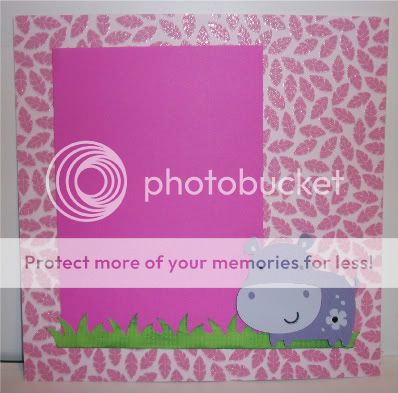
These first set are made using Create A Critter. The original plan was to label each page as "one month" or "two months" but I decided not to restrict them in that way. I might include some cut out tags for them to add to the pages as they wish. I am pretty sure the paper is DCWV Animal Stackers, but I got the larger paper in a repackaged set at Big Lots, but it coordinates with the DCWV photo mat set I got at CKC Buffalo. The monkeys and hippos are cut at 2 and 1/2 inches and the vine and grass are welded together using my Gypsy.
I added some inking to the grass to give it some texture, and it is hard to tell from the pic, but there is a little heat set gem in the flower on the hippo's hiny, as it were.
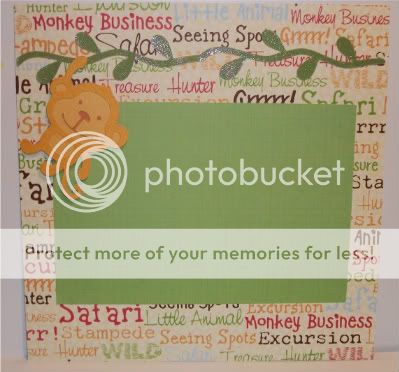
I used some green matte glitter paper for the first vine, but decided to faux stitch the second vine to mimic the paper, but I am not sure if I am pleased with the way it came out, since it seems to blend in so much.

What would a baby book be without some holiday pages? These Halloween pages are made with Mini Monsters for the phrase (cut at 3 and 1/2) and A Child's Year for the jack-o-lattern (cut at 2 1/2). The patterned paper is from the DCWV Midnight Spell Stack - I just love the colors of the plaid.
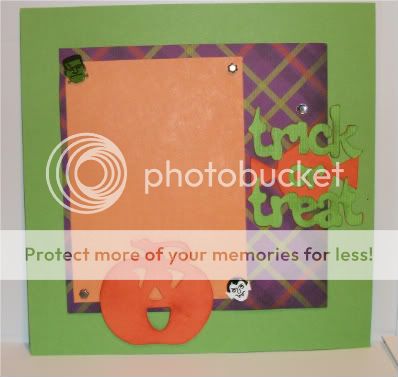
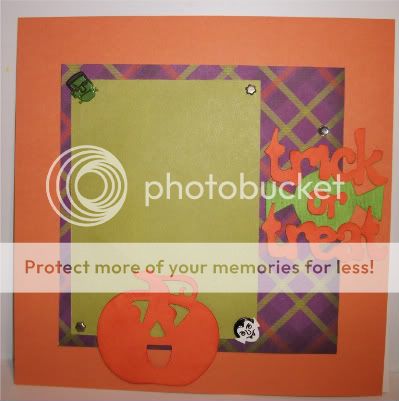
The cute monster brads are from the Eyelet Outlet, and I did a little bit of inking on the pumpkin and phrase but it is hard to tell from these pics.

I also did some quick Christmas pages using the paper from a Creative Memories kits that I had purchased. It was all I the Christmas paper I had with me, and I am pleased with the way they turned out.
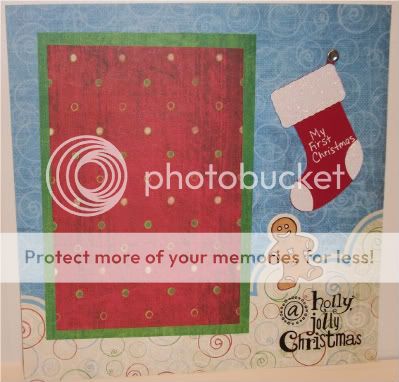
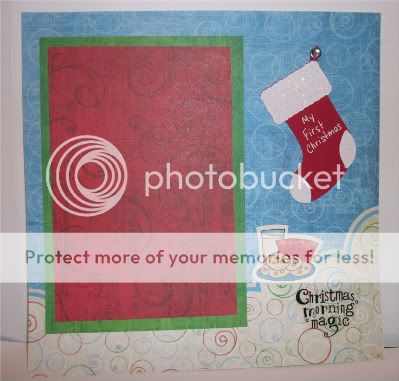
The stocking is from Christmas Cheer, cut at 2 and 1/2 inches, and attached to the page with a jeweled brad from Oriental Trading.

These next pages have no Cricut, but I decided that I needed to use some of all that baby stuff I have collected to good use. The patterned paper in the first set is from K and Company, the titles and chipboard are from atd, and the ribbon slide is from Making Memories.

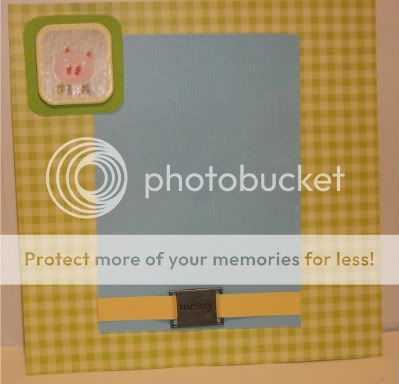
 
The chipboard says little piggy and the slide says messy.

In the next version, the paper is from DCWV Nursery Girl Stack.
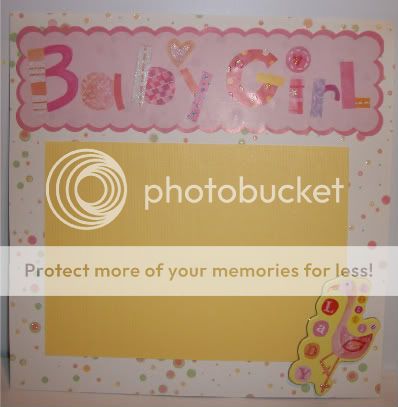

In this one the ribbon slide says "oh baby".

And finally to round out my baby pages I did a simple birthday page for the first birthday photo.


The cut is from A Child's Year, cut kind of big - I think 4 and 1/2 inches. You can probably see it a little better in the second picture, I used my Cri-kuts gel pens to draw the image on the first layer in my Gypsy, and then used a shadow cut on the second layer to cut around it.  

Whew! I think the blog post took almost as long as the pages themselves!. I did save myself some time to do some pages for my daughter with Shall We Dance, but they are not quite finished yet.I feel much better knowing I only have 8 more pages until they are done  - what will take me the longest is deciding what they should be. Thanks for looking! I realize some of the photos are distorted, and I apologize - can't seem to get photobucket to cooperate.

Sunday, October 31, 2010

First Blog Post - and Happy Halloween!

Wow! this is exciting.....now what have I gotten myself into?

I am guessing all those enablers at the Cricut Cricle finally got to me, and I have decided to jump on the Blog Bandwagon! I can't make any promises that I will become a daily or even weekly blogger, but I will certain try my best to keep up among all the other crazy things I have going on.

First, some much deserved thanks go to Caroline at Caroline's Craftography for getting me started and set up (she would be the number one blog enabler). So if you see something that looks great here, she can take the credit. If it looks messed up, it is because I have NO idea how to use this blogger dashboard yet!

Next, in case you were wondering the reason for my blog name (and even if you don't care)...goody bags are not only my favorite thing to put together and create, they are my retirement plan (hey it's only 30 years away - I believe in long term plans). In my next career I definitely want to be a party planner. I will warn you, I tend to go a teensy bit overboard (just a smidge) but I can't help myself. I would do goody bags for Columbus Day if I didn't think people would day I've finally gone over the edge.

Oh wait! did you come here to see crafts?? Who would've thunk? well then I guess I had better get on to it.

For my first post, I want to showcase some goody bags (what a surprise huh?) that I was super excited about. Why, you ask? Well not only were they made with my most favorite material, which would be heat transfer vinyl, but it was GLOW IN THE DARK heat transfer vinyl! And it really works!

Let's view the evidence, shall we? I did twenty canvas bags for my daughter's kindergarten class (black for boys and orange for the girls) that I was lucky enough to find at the local dollar store for six for a dollar! (totally my kind of deal). These are what they look like in the light:


and then when the light go out (insert bwahahahaha here):


Isn't that so neat?? I just love it! I filled the bags with all sort of goodies: bubbles, pencils, stickers, playdoh, tattoos, fangs...and a bunch of other stuff I can't remember (this is one of those things where I may have gone the teensiest bit overboard).

Now for the crafty details:

I cut the Halloween Images from the Pumpkin Carvings Cricut Cartridge at 2 1/2 inches, while the "trick or treat" used the Mickey Font Cricut Cartridge at 3/4 inches. I designed all of them using my Gypsy, because I had to get 20 images and phrases out of 3 sheets of vinyl. It was a close call, but I made it!

I purchased my vinyl from Nick Stafford at Craft Vinyl. I purchase all my heat transfer vinyl from him, and I can guarantee you will not find better customer service from an online vinyl guy! When it says you can call or email him anytime, he means it! (I sometimes wonder when he sleeps.)

Oh and I couldn't forget my daughter's teacher (the horror!) and I had picked up this Halloween paint can at Michael's on clearance so I decorated it with regular sign vinyl, using October 31st for the Happy Halloween phrase, Mini Monsters for the "trick or treat" on the lid, and Pumpkin Carvings (again) for the pumpkin - the face was layered on the pumpkins shape by hiding the contour of the square outline.