Showing posts with label A Child's Year. Show all posts

Sunday, December 19, 2010

Glitter It Up!

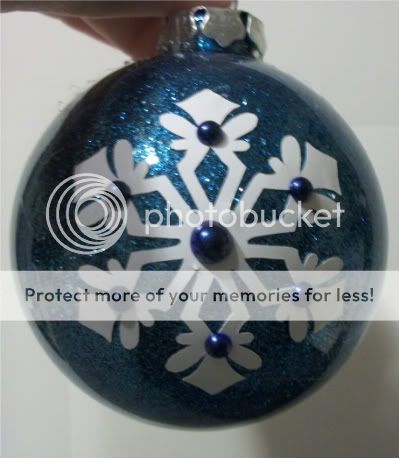
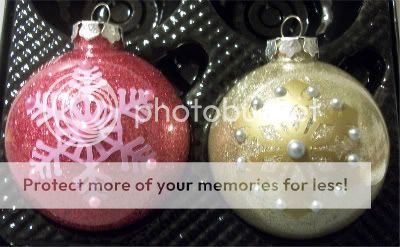
I decided I would try the infamous glitter balls that I heard so much about and I really expected to do about 6, but 15 later is when I actually said enough. Now I had initially planned on using the floor wax method that I had heard so much about, but I saw this product called Glitter It at ACMoore and then the next week it was featured on My Pink Stamper, so I decided to give it a shot. And here are all the results:


The crafty details:

Well my Glitter It experience was not a 100% positive one, mostly because I followed the directions too closely. The first step is to clean out the inside of the ornament with a vinegar and water solution and let it dry. I skipped that for the first couple but then did not get the desired results so I went back and did it for the rest of them.

Here's the problem I have with the directions: they say pour a small amount in and that should be enough. Now I don't know what their definition of small amount is but it definitely does not match mine. So here's MY advice - unscrew the top and pour a generous amount into each one and swirl it around. Then pour the excess back in the bottle. Then again, my definition of small amount of glitter did not match theirs. Pour enough in to cover the inside, and if it looks like it is not covering, pour some more. I will admit that this was very hard for me since I like to covet my glitter, and not actually use it.

All of the snowflakes are from the Winter Frolic cart, and the cross is from the Easter cart (with all the inner lines hidden). Here's a tip, the "round snowflake" cuts are not your friend and do not work very well on the balls. After putting two of them on and fighting with the vinyl, I gave up and stuck with the flakes that worked. Transfer tape is really not your friend for this typo of work, you have to suck it up and work without it. Smooth with your fingers and you will have an easier time. Then when I was done I couldn't resist adding adhesive pearls and gems to bling them up. These ornaments are mostly going to the teachers who work at my daughter's school.
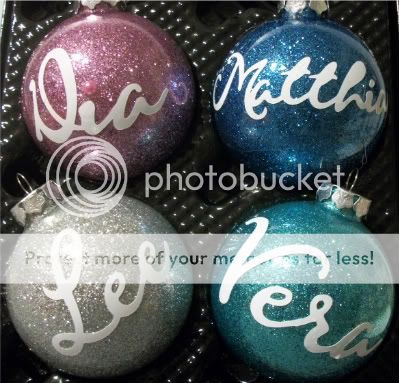
This next set I created for friends who have a Christmas party each year. I used Gypsy Font to personalize each with their name, and then the opposite side has the snowflake.


This is the only ornament I used the MS snowflake glitter on and I can't say I love the results. I added white glitter after the snowflake glitter to fill in the gaps and I added a cut from A Child's Year using some sparkly vinyl.
I don't know who this ornament is for, I don't know if I like it enough to give it to anyone! These really were a terrifically easy gift to make - the only thing that takes any length of time is the drying after cleaning it out with vinegar and water. Otherwise, you probably could get a bunch done in an afternoon.

That's all for now, I do have a few more projects to post this week, if I can get them all made, photographed and written. I will do my best!

Sunday, November 7, 2010

Oh Baby

baby baby oh yeah....sorry!! If I have to have that stuck in my head so do you! and since that needs-a-haircut moppet is currently the object of my daughter's affection, we have to listen to that a lot around here!But I digress...

I have been working on these two baby books for a while because I had the brilliant (read stupid) idea to make two 8x8 books for my colleagues who recently had babies; and of course the plan was they would be gifts before the baby was born...umm yeah...so now I will be satisfied if they make it to baby's first Christmas. I went to an all day crop, and got 14 pages done. Before that impresses you, it was really 7 pages done twice, as one is for a boy and one for a girl. Now I only have 4 pages in each left to do...I can see the light at the end of the overextended crafting tunnel!!

On to the pages already!!

The crafty details:

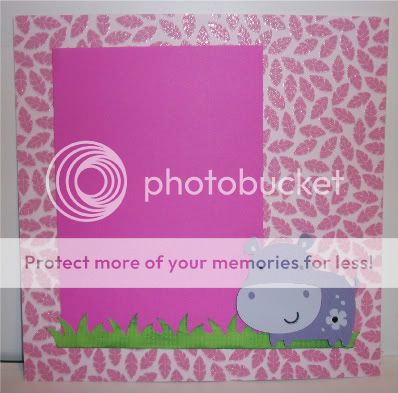
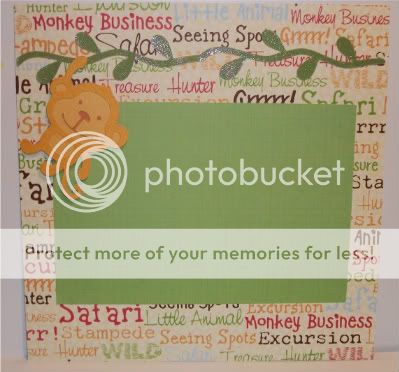
These first set are made using Create A Critter. The original plan was to label each page as "one month" or "two months" but I decided not to restrict them in that way. I might include some cut out tags for them to add to the pages as they wish. I am pretty sure the paper is DCWV Animal Stackers, but I got the larger paper in a repackaged set at Big Lots, but it coordinates with the DCWV photo mat set I got at CKC Buffalo. The monkeys and hippos are cut at 2 and 1/2 inches and the vine and grass are welded together using my Gypsy.
I added some inking to the grass to give it some texture, and it is hard to tell from the pic, but there is a little heat set gem in the flower on the hippo's hiny, as it were.

I used some green matte glitter paper for the first vine, but decided to faux stitch the second vine to mimic the paper, but I am not sure if I am pleased with the way it came out, since it seems to blend in so much.

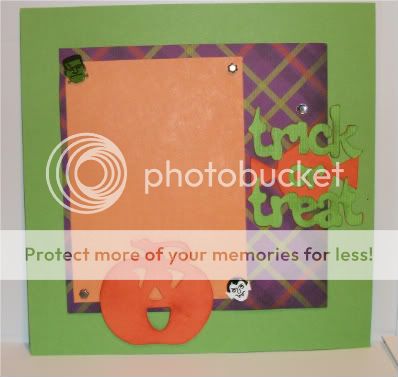
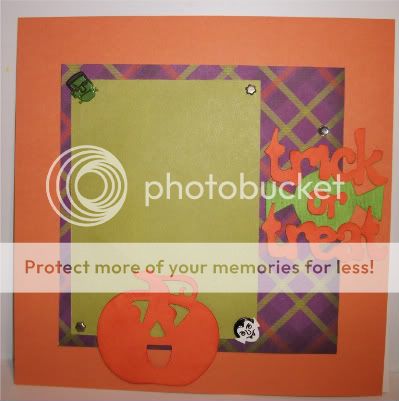
What would a baby book be without some holiday pages? These Halloween pages are made with Mini Monsters for the phrase (cut at 3 and 1/2) and A Child's Year for the jack-o-lattern (cut at 2 1/2). The patterned paper is from the DCWV Midnight Spell Stack - I just love the colors of the plaid.

The cute monster brads are from the Eyelet Outlet, and I did a little bit of inking on the pumpkin and phrase but it is hard to tell from these pics.

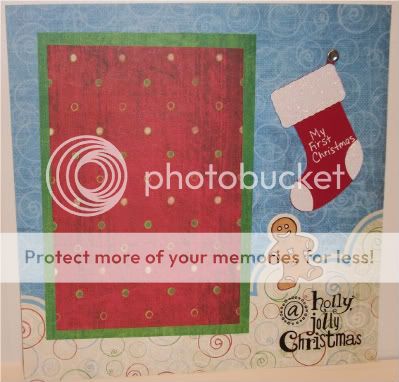
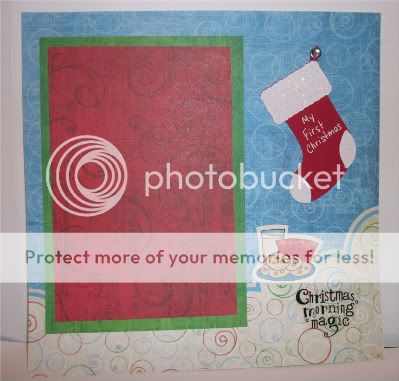
I also did some quick Christmas pages using the paper from a Creative Memories kits that I had purchased. It was all I the Christmas paper I had with me, and I am pleased with the way they turned out.


The stocking is from Christmas Cheer, cut at 2 and 1/2 inches, and attached to the page with a jeweled brad from Oriental Trading.

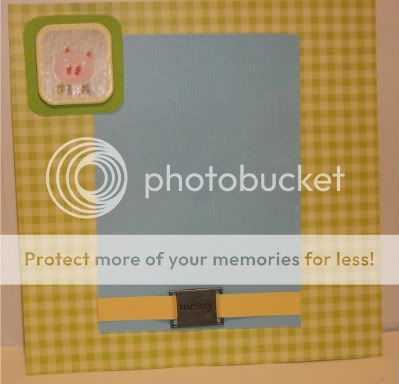
These next pages have no Cricut, but I decided that I needed to use some of all that baby stuff I have collected to good use. The patterned paper in the first set is from K and Company, the titles and chipboard are from atd, and the ribbon slide is from Making Memories.

 
The chipboard says little piggy and the slide says messy.

In the next version, the paper is from DCWV Nursery Girl Stack.


In this one the ribbon slide says "oh baby".

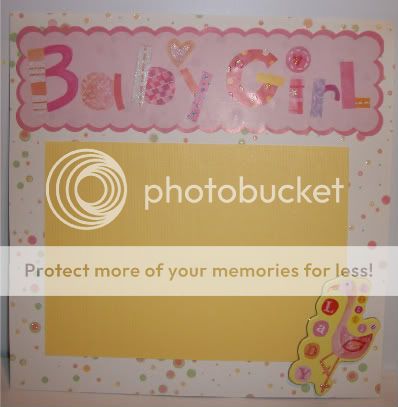
And finally to round out my baby pages I did a simple birthday page for the first birthday photo.


The cut is from A Child's Year, cut kind of big - I think 4 and 1/2 inches. You can probably see it a little better in the second picture, I used my Cri-kuts gel pens to draw the image on the first layer in my Gypsy, and then used a shadow cut on the second layer to cut around it.  

Whew! I think the blog post took almost as long as the pages themselves!. I did save myself some time to do some pages for my daughter with Shall We Dance, but they are not quite finished yet.I feel much better knowing I only have 8 more pages until they are done  - what will take me the longest is deciding what they should be. Thanks for looking! I realize some of the photos are distorted, and I apologize - can't seem to get photobucket to cooperate.