Showing posts with label Happily Ever After. Show all posts

Sunday, February 27, 2011

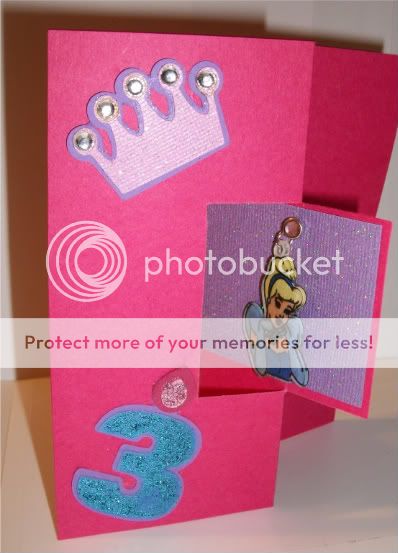
Princess Swing Card

Oh my goodness it has been a whole month! How awful! I really hope this is the last time I go so long without posting on my poor blog. I have been creating some, not a huge amount, but just have not had the time to write the posts. I also have been making cards - so there must be something wrong with me! I am no great cardmaker but these last few have not completely sucked so I will share a few of them with you - hopefully sooner rather than later.

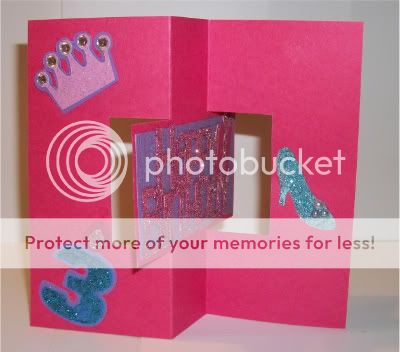
This card is a "swing" card that I was inspired to make after seeing a post by LorraineB at Card Creations by Lorraine. Her post has a link to a great tutorial video that I watched in order to learn how to make the card. It is for a birthday party we will go to next week, and I was able to work my love of shrinky dinks into the card - always a bonus!

The "outside" of the card
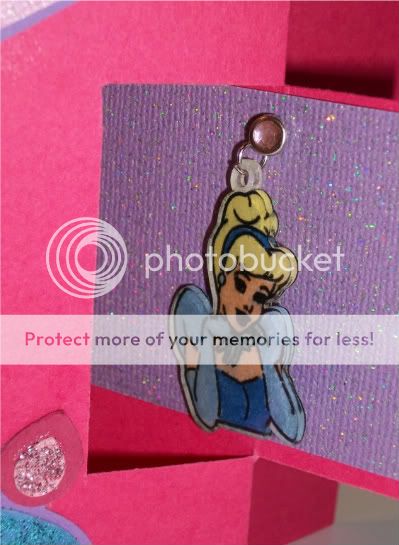
A close- up of the shrinky dink Cinderella:

The "inside"


The crafty details:

The card dimensions are 5 1/2 inches by 6 1/2 inches which makes all the cuts rather small. If you follow the links to watch the video she gives you all the right measurements for the scoring and cutting of the card base.  I think the Happy Birthday is the largest cut at 2 inches - the other ones are all between 1.50 and 1.90 on the Gypsy.

Cinderella was drawn and cut at 3.5 inches before she was baked and shrunk. The shoe is also from Disney's Happily Ever After and since I messed up the top layer (shhhh - don't tell) I covered it with glitter and then added the adhesive pearls to make it pretty again.

The crown and the phrase are both from Once Upon A Princess, and I used my I-rock and heat set gems to bling it up a little. The "3" is from Sweet Treats, and I used stickles to make it sparkle. I hope it will be a hit with the little girl - she is a huge Cinderella fan!

I promise not to stay away so long this time!

Sunday, January 2, 2011

Shrinky Dinks meet Cricut Markers

***WARNING SHRINKY DINKS CAN BE ADDICTIVE (BUT NOT AT ALL HAZARDOUS TO YOUR HEALTH)***

Well certain enablers over at the cricut message board (they know who they are) have been talking about shrinky dinks for a while, and I bought a package on Thanksgiving, but I really have had no time to play with them until this last week, and of course now I can't seem to stop making them. Up until this week, they were my daughter's domain and I have spent a lot of time drawing Christmas shapes for her to color and cut out.

I spent the first day just trying to cut some numbers and experimenting with stamping on the shrinky dinks, and then my Cricut markers caught my eye (since I finally got my husband to hang the shelf I bought so I could reorganize my supplies). Now I have always been a fan of the Cricut markers, and while I recently have used the Cri-kuts more, this project has knocked those right out of the running as my favorite drawing tool. Sure enough, with some layering on my Gypsy and my licensed cartridges, those markers made it super easy to create great shrinky dinks for my daughter and I to color (she made me share).

Here's what we have been up to:

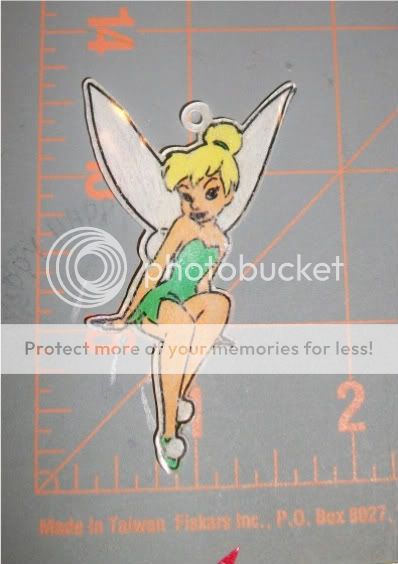
Tinkerbell and Friends


Spongebob and Friends


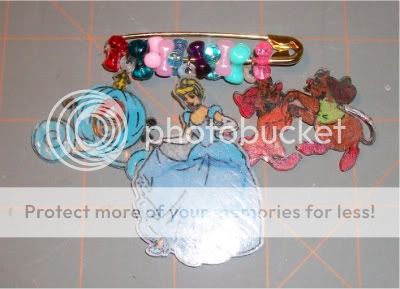
Cinderella

Hello Kitty

The crafty details:

The sizes of the cuts all vary, they could be anywhere from 2 to 6 inches, when doing the character sets I tried to make them somewhat proportional to each other (yet Spongebob is still huge). Some characters draw more complete images than others, and for Hello Kitty I used the Silhouette feature.  I followed the marker directions just as if I were using paper, and on the first layer drew the images with the marker. Then I switched out the marker for the blade, and cut out a shadow on the second layer (with a welded circle from George). I used max pressure, blade depth of 6, and multi-cut twice.

When we unloaded the mat, we had pre-drawn Shrinky Dinks ready to be colored with watercolor pencils. Then we baked them at 325 on a piece of parchment paper in the toaster oven. As you can see, we used them in a variety of ways: a necklace, a pin, and a card for her teacher. I am hoping to get a shrinky dink break today, but I doubt it, as I am sure my little addict will come looking for some more. I hope to write a tutorial soon with more detail, but as I start back to work this week, I can't make any definite promises.