Showing posts with label Easter. Show all posts

Sunday, April 10, 2011

Baptism Set & why I hate making cards

I need to just accept the reality that I am not a great card maker and give it up. I just obsess way too much and make a huge mess and end up hating the result. And it takes way too long - I can spend a whole day on one card - and I just don't find that productive. Below is my case in point. This is what I made for my godchild's baptism.

card and bag:

closeup of card:

inside of card:
The details:

This is a 5x7 card and the front layer is cut from Damask Decor that I sized to a 5x7 block. The cross is from the Easter seasonal and embossed with the Divine Swirls Cuttlebug folder. The cross is cut at 4.5 inches. The stamp is from Fiskars and it is supposed to be one line so I have to tweak it to fit it in that space. The box I had for the gift (an engraved cross) was very plain and so that is why I came up with the paper wrapper and stuck a smaller 2.5 inch cross on it to coordinate with the rest.

For the matching gift bag I used the Silhouette feature of the same cut at 5 inches, and I have to be honest - weeding that sucker was a PITA! I had no idea which piece was supposed to stay or go - definitely going to take some practice. I used adhesive pearls in the center of the cross and the gift bag.

So why do I hate cards? well let's see - this was how the card started out at the end of the morning.
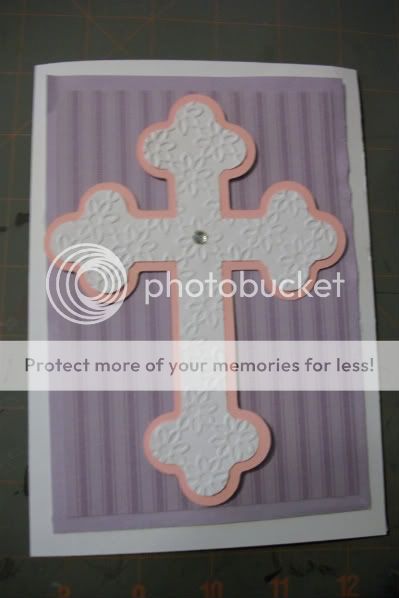
Then I begin my usual obsessing about it and thought "gee I haven't used Damask Decor yet" so I had to pull that out - and then the cut didn't work with the original size cross and I thought the Divine Swirls cuttlebug folder would be a better choice than this one....do you see where this is going?And of course I had already adhered it to the front of the card and finished the inside so I had to peel it off....pretty soon my table looks like this....

.....and then before you know it the day is almost over and I have spent all my crafty time on one stinking card. It is just not effecient which drives me batty. I could have done a whole two page layout in the time I spent on one card. Oh and I know I promised getting back to layouts so I will kick my own butt to finish writing the blog posts for the layouts I already have done.

Friday, April 8, 2011

Altered Gift Bag

We interrupt these layouts with a quick craft that I have of late found more necessary to create, especially since this weekend will be the second Saturday of this month with back to back birthday parties *SIGH*. Both Joy from Obsessed With Scrapbooking and Nadia from With Glittering Eyes featured bags in recent posts so this is one of my attempts. The party is to go see the movie Hop so I wanted to incorporate that into the bag.


The details:

The egg is (obviously perhaps) from Easter 2010, cut at 5.30. For the letters I used Mickey Font but I did some major tweaking to them on the G to get them to fit in the egg shape and look like the movie logo. I unlocked height and width, played with the skew a little, and rotated them slightly. Then I still had to do some "cricut surgery" and trim the H and the P with scissors. Then of course I had to use Elegant Edges for the background, and that is sized at 7.20 inches. The name is spelled out in a stickers from an old pack of stacker stickers I got at Michael's for 99 cents.  A closeup:


I don't think you can see in the picture but the egg is cut on DCWV glitter cardstock, and the background paper is DCWV Blossoms & Butterflies stack. The letters were cut with papers from my scraps. Well, I hope you enjoyed this brief commercial break, as I believe we will be back to layouts soon!

Sunday, December 19, 2010

Glitter It Up!

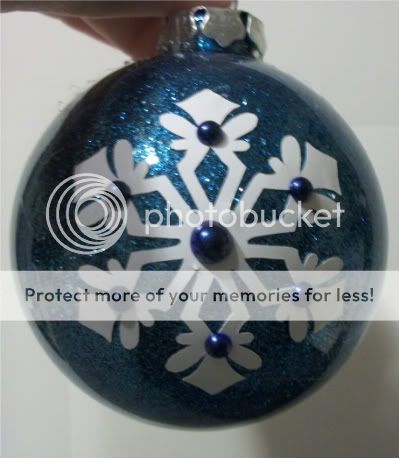
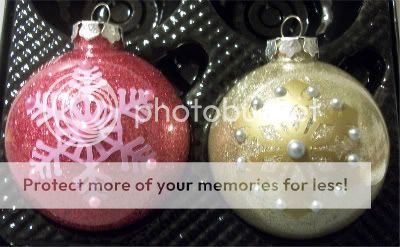
I decided I would try the infamous glitter balls that I heard so much about and I really expected to do about 6, but 15 later is when I actually said enough. Now I had initially planned on using the floor wax method that I had heard so much about, but I saw this product called Glitter It at ACMoore and then the next week it was featured on My Pink Stamper, so I decided to give it a shot. And here are all the results:


The crafty details:

Well my Glitter It experience was not a 100% positive one, mostly because I followed the directions too closely. The first step is to clean out the inside of the ornament with a vinegar and water solution and let it dry. I skipped that for the first couple but then did not get the desired results so I went back and did it for the rest of them.

Here's the problem I have with the directions: they say pour a small amount in and that should be enough. Now I don't know what their definition of small amount is but it definitely does not match mine. So here's MY advice - unscrew the top and pour a generous amount into each one and swirl it around. Then pour the excess back in the bottle. Then again, my definition of small amount of glitter did not match theirs. Pour enough in to cover the inside, and if it looks like it is not covering, pour some more. I will admit that this was very hard for me since I like to covet my glitter, and not actually use it.

All of the snowflakes are from the Winter Frolic cart, and the cross is from the Easter cart (with all the inner lines hidden). Here's a tip, the "round snowflake" cuts are not your friend and do not work very well on the balls. After putting two of them on and fighting with the vinyl, I gave up and stuck with the flakes that worked. Transfer tape is really not your friend for this typo of work, you have to suck it up and work without it. Smooth with your fingers and you will have an easier time. Then when I was done I couldn't resist adding adhesive pearls and gems to bling them up. These ornaments are mostly going to the teachers who work at my daughter's school.
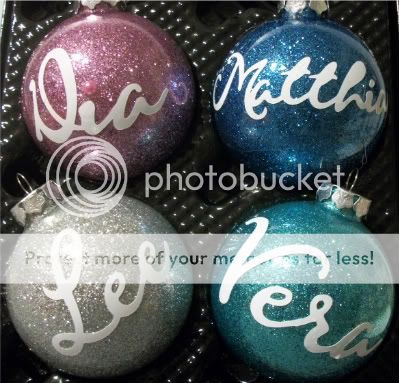
This next set I created for friends who have a Christmas party each year. I used Gypsy Font to personalize each with their name, and then the opposite side has the snowflake.


This is the only ornament I used the MS snowflake glitter on and I can't say I love the results. I added white glitter after the snowflake glitter to fill in the gaps and I added a cut from A Child's Year using some sparkly vinyl.
I don't know who this ornament is for, I don't know if I like it enough to give it to anyone! These really were a terrifically easy gift to make - the only thing that takes any length of time is the drying after cleaning it out with vinegar and water. Otherwise, you probably could get a bunch done in an afternoon.

That's all for now, I do have a few more projects to post this week, if I can get them all made, photographed and written. I will do my best!