Showing posts with label Layouts. Show all posts

Saturday, May 21, 2011

Simple Swiss Family Layout

Today's layout is really simple but I am still pleased with how it turned out. I think because it is so simple you can pay more attention to the pictures. This was our trip up into the Swiss Family Treehouse at Magic Kingdom.


The details:

This is the first time I used the Blackletter font which came free with the Gypsy download - when I was looking at these pictures and thinking about this layout it was my first choice.


The letters are cut at two inches and I used paper from the DCWV Ultimate pack (which had samples from 10 of their lines - and  the plaid is also from there ) . I shadowed them with a beige paper because I was sort of going for that "carved in the tree" look. I believe the background paper may be from a package of paper I got at Big Lots. In an effort to use what I have (a shocker I know!) all the photos were matted with paper from an old DCWV mat stack - so old I don't know what it was because the cover is long gone but the paper complemented the rest of the papers perfectly!
i hope you aren't tired of the most magical place on earth because there is more Disney ahead!


Thursday, May 19, 2011

Disney Safari Pages & A Mini Giveaway!

I promised I would get back to layouts and here we are! I have been diligently working on my Disney album, and what works best for me it to plan ahead. I spent about a week putting together sketches with pictures and paper so I was prepared to attend my last all day crop and be productive! And I was - eleven pages done and in the book! Only a million more to go....*SIGH* it just feels that way sometimes! These are some pages of the pictures I took on the Kilimanjaro Safari at Animal Kingdom.


The details:

For these pages, I used DCWV Safari Kids stack, which I just picked up recently and absolutely love! I used the Zoo Story Lite cartridge for the title :

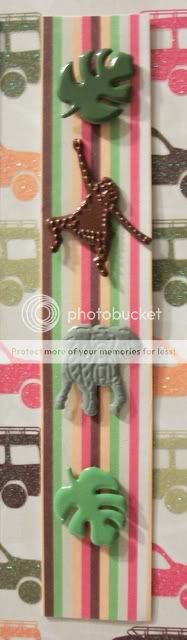
I used vinyl to cut out the "Kilimanjaro" because at 1 inch I knew they were going to be a pain to cut and adhere if I used paper! Vinyl made it a cinch! The Safari is cut in the font with the Shadow at 2.5 inches. I know it may be hard to see on the picture  of the layout but in the corner I used a spare strip of paper decorated with some brads from Eyelet Outlet. They have the cutest brads and I am totally addicted!

On the second set of pages I used my Cricut for the film strips. That cut can be found on Mickey and Friends, and I used by Gypsy to hide contour of the inner cuts so that I could place my pictures there instead. Then I welded two of them together slightly overlapping and cut as one long strip. The side one is cut at 3 inches and fit five 2x2 pictures. The larger strips were cut at 5.5 inches and I moved the cut over to the side of the page to cut the strip on the leftt, then cut it as a whole for the right page. The letters are not Cricut (*gasp*) they are chipboard with a wood grain font on the front.


I do have some extra letters that I cut out - the word "safari" in the Zoo Story font (without shadow) at 3 inches - once in the cheetah print and once in the gold cardstock - and they will go to the first person to email me about them! Only seven more pages to write about!

Tuesday, April 19, 2011

Birthday Layout for the E2 contest

Hi everyone! Allison from Goody Bag Diva thrilled to be back at The BugBytes today. I decided to share with you my entry for the contest Jinger AdamsJinger Adams (spokesperson for Provo-Craft) is holding a contest for E2 (Expression machine 2) launch on HSN, which premieres April 26th. The only requirement really was that it was a birthday theme. I immediately wanted to incorporate some kind of pop-up, which didn't really turn out to be a realistic expectation, so I decided to incorporate a cut from Everyday PopUp Cards, and add a "pop-down" twist.

The details:
For the printed papers I used Basic Grey's cupcake line, and the rest is Bazzill cardstock. I used my favorite scalloped square from Elegant Edges cut at 11.30 inches for the background, which is layered on top of two more pieces of cardstock. The photo mats are 4.5 by 6 and 3 by 4 inches. The title is from Stamping and is sized at 2.80. The cake is from the aforementioned Everyday PopUp Cards and is sized at 4.30 inches.
A closeup of the cake:

Instead of cutting out the sprinkles that are supposed to go on the top layer of the cake I used brads instead and added some chunky glitter. I hid contour of the lines for the sprinkles and also skipped one of the extra layers for the flames.

The twist is located behind the cake, it flips down for some hidden journaling:

I did this by cutting two layers of the shadow piece, and on the top layer I welded a rectangle from George, scored at the bottom of the cake and adhered it to the back of the second shadow layer.

Some more details:
I added some doodling to the title and some faux stitching around the mats. I added some ribbon and brads to the bottom mat, and anchored the corner of the top mat with brads as well. I have no expectations of winning, but it was fun to try. I did make one more but at this time not sure if it will make it into the envelope as my children decided to give me their germs for Spring Break! Thanks for looking! 

Thursday, April 14, 2011

Piglet meets Elegant Edges

I just adore this layout - it was definitely my favorite from the last swarm I had and this is actually the first time I used Elegant Edges - it was love at first cut!

The details:
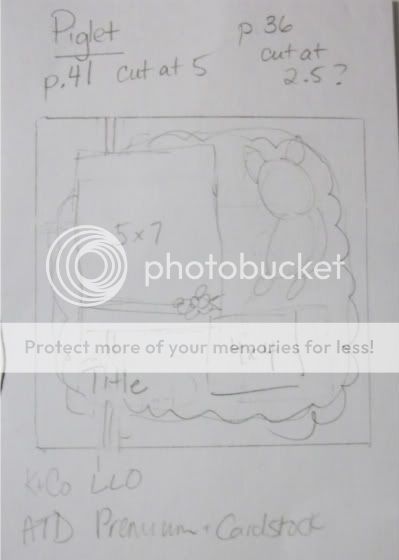
The scalloped square is cut at 10.80 inches, while Piglet is cut at 5 inches and the title is 2.60 inches. This is another layout where I had prepared a sketch ahead of time and then went and changed my mind! As you can see once I had everything cut and matted I decided to put Piglet on the other side and skip the ribbon and move the flowers.....you see I am not very good at following my own plan!


In spite of what my notes say I did end up using only the ATD cardstock (although the matting paper may be recollections cardstock), while the flowers are Prima with a jeweled brad from OTC in the center. I won't promise this time to stick solely to layouts as I have some other things planned but I am glad to be on a scrapbooking streak!

Wednesday, April 6, 2011

Eeyore's Elegant Layout

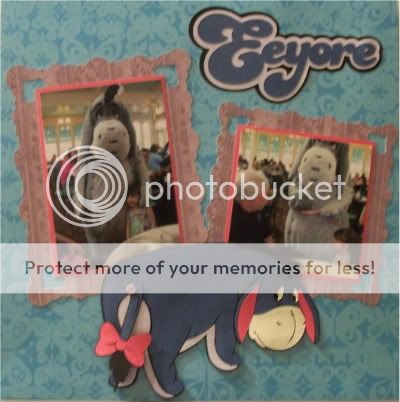
So the Disney and Elegant Edges layoutscontinue with Eeyore. These are pictures from our lunch at the Crystal Palace and I still can't get over how tiny my daughter looks next to Eeyore - she's so tall now! I also love this Eeyore because he looks happy (well as happy as he can get!).
The details:

This is another layout that started life as a sketch. This time I took a picture that included my notes as I planned the layout. Actutally I am just now noticing that I had thought to add flowers to this layout but that didn't happen. See? I told you I can't stick to a sketch or even my own notes.

Eeyore is cut at 4.5 inches and I decided to attach Eeyore's tail with a brad instead of just gluing it on - so it could swing back and forth if I was so inclined. The title cut is 2.50 inches.

Once again I used Elegant Edges for the photo mats. The square mat is Hearts2 on page 41 cut at 5.40 inches and the other is Hearts 2 but the Oblong feature cut at 7.00 inches. I decided the pictures need a little bit something more to stand out so I matted them on the pink paper before adding them to the larger mat.


The printed paper is K and Company, the purple from the Floral Dreams stack and the turquoise from the Life's Little Occasions stack. The other papers are Recollections cardstock. More Disney to come!


Monday, April 4, 2011

Mary Poppins meets Elegant Edges

This layout really is an ode to one of the newest cartridges released by Provo Craft - Elegant Edges. I have been pretty good lately about resisting the new releases until this cart! It is one of the best carts that PC has to offer - it is completely full and offers so many possibilities. I brought it to my swarm with me and used it on every single layout I made that day.

The details:

This layout started off as a sketch challenge on the Circle board and this is the sketch (courtesy of Page Maps). My biggest "thing" with a sketch is I find them a great starting point but I can never stick to them completely, even I am the one who drew the sketch!


And when I say, this really is about a layout dedicated to Elegant Edges, every single cut is off the cart. This was the first layout I did with it and I just played away! ( I won't tell you that I only brought a few sheets of the papers and had to make every cut count.)

 The red scalloped "border" page (with the white daisies) in the background is actually one of the borders (page 65 border + shift), sized it at .64 inches and laid it on the gypsy mat 3 times, welded it together and then to a large rectangle, and then flipped the border piece and welded it to the bottom of the rectangle. Now the Cricut doesn't cut all the way to the edge so when it was done cutting I had to do a little snipping but it worked!


The piece behind the large picture is the Eyelet cut (page 52) cut at 8.20 inches with both layers cut out. The smaller pictures are matted on the same cut from that page, but the Frame cut option with the inner frame line hidden. The journal mat (or where the journaling will go when I get around to it) is I believe from page 49 - the shift cut and the shadow layer - cut at 5.20 inches.
The flowers are from Prima, the twine is Divine Twine and the brads are from Oriental Trading (I think).
I hope I have convinced you to add this to your "need" list, if not I have more to come!

If you are stopping by from the circle board and Pam's blog comment post, welcome!

Saturday, April 2, 2011

Mickey Ears - From Sketch to Layout

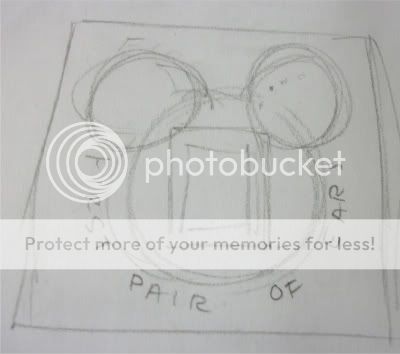
I have been slowly but surely planning and working on my Disney album  and so while I may not have been diligent about posting I have been working. This week's challenge at the Cricut Circle Blog is to work from a sketch and since that is the way I work anyway I thought I would share my process for this layout and how I design my layouts in general.


The details:
I usually begin by sitting down one night with my pencil and paper and a stack of pics. Then I group my pics together by theme or event and begin to sketch. I sometimes use my Becky Higgins book of sketches or ones I have cut out of magazines or sometimes I just move the pics around until I come up with an order I like. Then I begin to sketch my page layout - and what I have started to do is next to the sketch make a list of the possible papers and cricut cuts I want to include as well.


My inspiration for this particular layout was I wanted to model it after the pair of Mickey Ears my daughter picked out and designed for herself at Disney World. Here's a closeup so you can see:


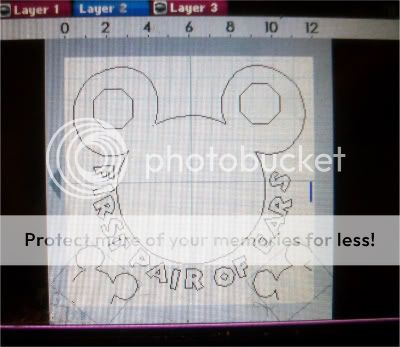
And once I have done a few of those (or on a different night) I pull out my Gypsy and use the first layer as my design layer - I layout the cuts as I want to see them on my page. I might use more than one layer if I have to plan welding and shadow cuts.


When I do get around to start cutting (usually after a torturous afternoon trying to pick out papers - oh the decisions!) then I simple copy and paste the images to a different layer for cutting.

For this particular layout, the big Mickey shape is cut at 9.5 inches, the font is cut at 1 inch and shadowed, and the little Mickeys in the corners are cut at 2.90 inches and then I trimmed off the excess that hung over the edges. The printed background paper is DCWV Blossoms & Butterflies, the holographic pink is from Target, and the rest to the paper is Recollections. The gems are from Michaels too - from the kids crafts section and adhered with glue dots.

I hope this is the start of more layouts to come - and if you enjoy looking at the sketches too please let me know - I will be happy to include them.

Friday, March 18, 2011

TheBugBytes!

I am over the moon to announce that Pam aka TheBugBytes actually asked me to design for her blog! Isn't that just insane? Maybe okie smacked her a little too hard one day and she didn't know what she was doing....so until she comes to her senses I am going to run with it!

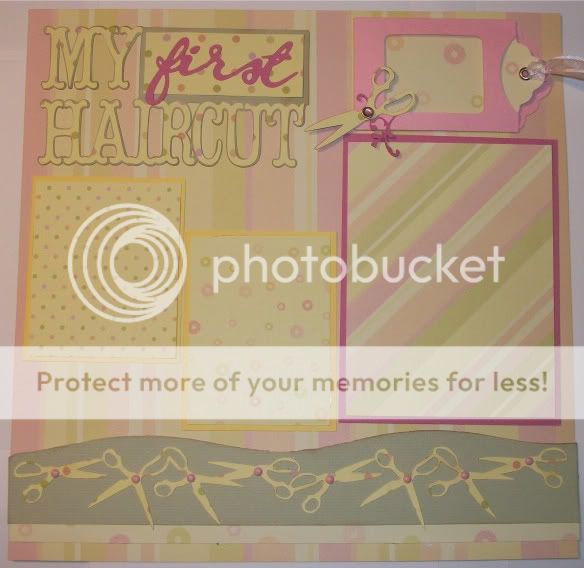
Today is my first day at TheBugBytes and I have posted this layout that I designed for baby's first haircut!


I hope you will stop by and check out the details! I am also sharing the gypsy file for anyone who wants to email me.

Sunday, November 7, 2010

Oh Baby

baby baby oh yeah....sorry!! If I have to have that stuck in my head so do you! and since that needs-a-haircut moppet is currently the object of my daughter's affection, we have to listen to that a lot around here!But I digress...

I have been working on these two baby books for a while because I had the brilliant (read stupid) idea to make two 8x8 books for my colleagues who recently had babies; and of course the plan was they would be gifts before the baby was born...umm yeah...so now I will be satisfied if they make it to baby's first Christmas. I went to an all day crop, and got 14 pages done. Before that impresses you, it was really 7 pages done twice, as one is for a boy and one for a girl. Now I only have 4 pages in each left to do...I can see the light at the end of the overextended crafting tunnel!!

On to the pages already!!

The crafty details:

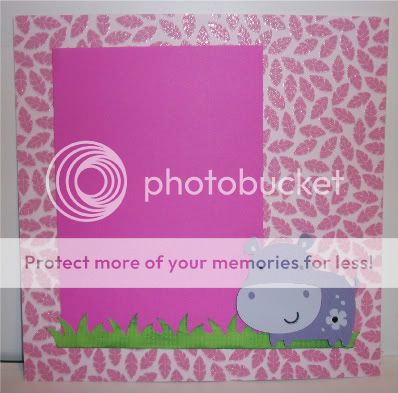
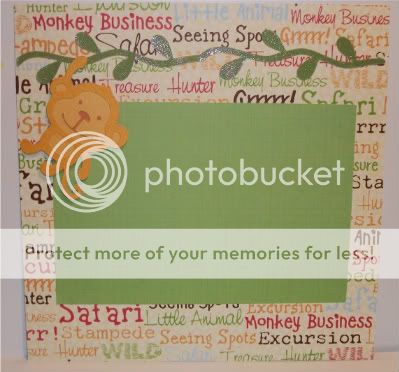
These first set are made using Create A Critter. The original plan was to label each page as "one month" or "two months" but I decided not to restrict them in that way. I might include some cut out tags for them to add to the pages as they wish. I am pretty sure the paper is DCWV Animal Stackers, but I got the larger paper in a repackaged set at Big Lots, but it coordinates with the DCWV photo mat set I got at CKC Buffalo. The monkeys and hippos are cut at 2 and 1/2 inches and the vine and grass are welded together using my Gypsy.
I added some inking to the grass to give it some texture, and it is hard to tell from the pic, but there is a little heat set gem in the flower on the hippo's hiny, as it were.

I used some green matte glitter paper for the first vine, but decided to faux stitch the second vine to mimic the paper, but I am not sure if I am pleased with the way it came out, since it seems to blend in so much.

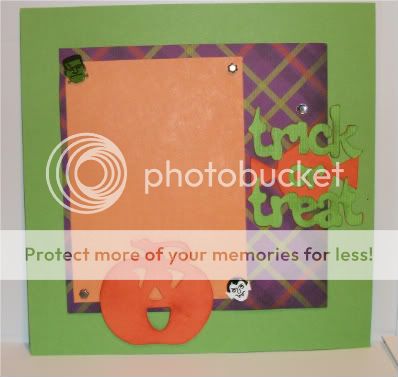
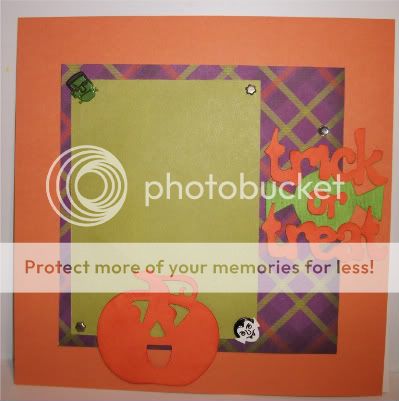
What would a baby book be without some holiday pages? These Halloween pages are made with Mini Monsters for the phrase (cut at 3 and 1/2) and A Child's Year for the jack-o-lattern (cut at 2 1/2). The patterned paper is from the DCWV Midnight Spell Stack - I just love the colors of the plaid.

The cute monster brads are from the Eyelet Outlet, and I did a little bit of inking on the pumpkin and phrase but it is hard to tell from these pics.

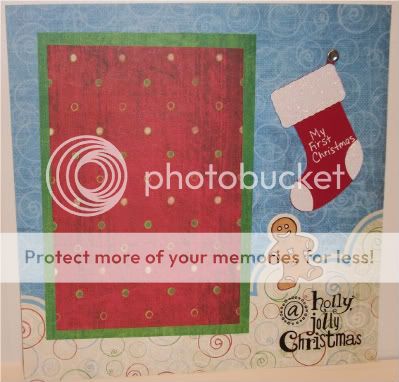
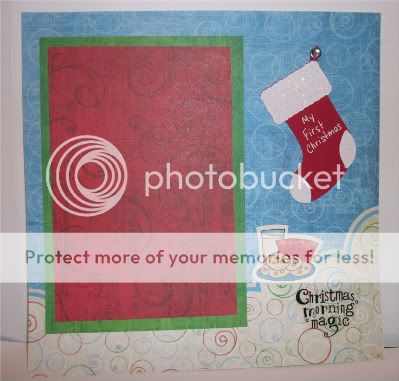
I also did some quick Christmas pages using the paper from a Creative Memories kits that I had purchased. It was all I the Christmas paper I had with me, and I am pleased with the way they turned out.


The stocking is from Christmas Cheer, cut at 2 and 1/2 inches, and attached to the page with a jeweled brad from Oriental Trading.

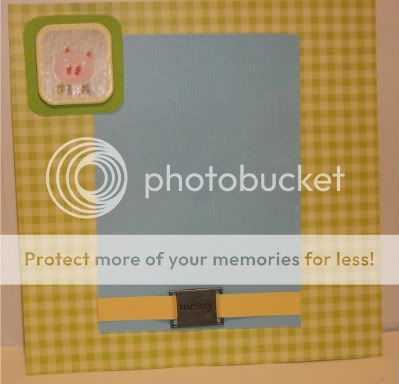
These next pages have no Cricut, but I decided that I needed to use some of all that baby stuff I have collected to good use. The patterned paper in the first set is from K and Company, the titles and chipboard are from atd, and the ribbon slide is from Making Memories.

 
The chipboard says little piggy and the slide says messy.

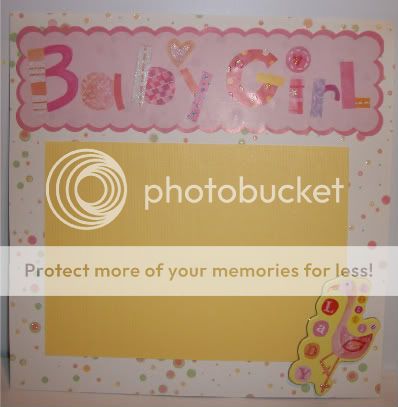
In the next version, the paper is from DCWV Nursery Girl Stack.


In this one the ribbon slide says "oh baby".

And finally to round out my baby pages I did a simple birthday page for the first birthday photo.


The cut is from A Child's Year, cut kind of big - I think 4 and 1/2 inches. You can probably see it a little better in the second picture, I used my Cri-kuts gel pens to draw the image on the first layer in my Gypsy, and then used a shadow cut on the second layer to cut around it.  

Whew! I think the blog post took almost as long as the pages themselves!. I did save myself some time to do some pages for my daughter with Shall We Dance, but they are not quite finished yet.I feel much better knowing I only have 8 more pages until they are done  - what will take me the longest is deciding what they should be. Thanks for looking! I realize some of the photos are distorted, and I apologize - can't seem to get photobucket to cooperate.