
First, you should know that this is a Kathy Orta idea, so therefore...

She also has a wonderful video on her blog, that you can see by clicking here. But if you don't want to watch the video, or maybe can't right now (like you are at work, not that I EVER use the internet for personal use at work and I am sure you don't either), I have written out the instructions to make these flowers here with just pics.
The crafty details:

Each lollipop needs two flowers, and it works best if they are between 3.5 and 4 inches. I used Plantin Schoolbook for the flowers in these pictures, but you can definitely use George as well - in fact the last set I did I believe that is what I used - the only difference is the number of petals you get (4 and 6 with Plantin Schoolbook and 3 and 5 with George).

You cut one petal off one of the flowers, and then overlap the two adjacent petals to close the space - basically altering it from 6 petals to 4. I use ATG tape to do this and haven't had any problem with them coming apart.
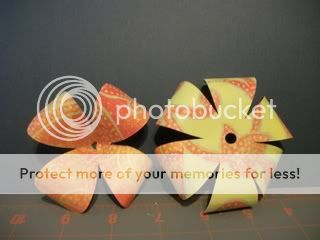
Next I use a pencil (or some such similar device) to curl the petals. Now it is time to heat up the hot glue gun! Potential burned fingers alert!!
You then gently work to slide the 4 petal layer onto the popsicle stick. Really it should be secure without adding glue to the lollipop base but you can if you so wish. Then carefully (since I no longer have nerves left in my fingertips) apply a small amount of hot glue to the bottom of the first flower layer, and slide the bottom (6 petal) layer on the stick and slowly smush it (try not to get lost in the technical talk) into the first one. The smushing is necessary since the fit will not be as tight as the first layer but you really don't want to crease it to fit.
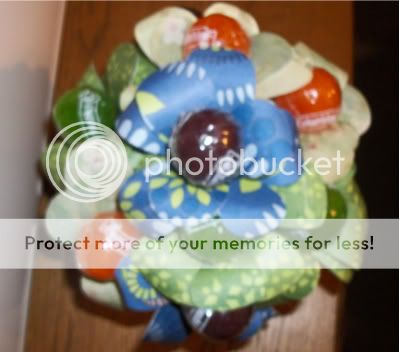
And that really is it! I am not going to sugar coat it - there is a slight learning curve - your first ones will not turn out as nice as your last - but I have found that the more you make, the easier it becomes. And I have found that to make them with George is a bit easier (less petals) than using Plantin Schoolbook, but that will also depend on how full you want to make them.
Before I forget - the plain clear wrapped lollipops - I found at the Dollar General store, only a few dollars for a bag of 15 or so - not sure how they taste, but I love the way that they look and the colors they come in! I don't have to eat them so it doesn't really matter to me!
Well....what are you waiting for?? Get lollipop-ing!


