Showing posts with label Create A Critter. Show all posts

Tuesday, July 19, 2011

Summer Fun Goody Bags!

Hi everyone! I am thrilled to be here at The BugBytes, and I decided to bring  you what else? Some goody bags that I created for my daughter's kindergarten class. The last two years I have been fortunate enough to find enough good deals on books that I could provide every child in her class with 5 books to take home for the summer, and these are what I designed to house them! (Can you tell I really really believe in summer reading?) And of course I threw in some other summer fun goodies like bubbles and mini paint kits and various other goodies.

This post must come with a disclaimer - do as I say not as I do! Why you ask? Because while cutting sandpaper is a good idea in theory - in actuality it is not only a PITA, it killed my first machine. She never quite recovered and no amount of resets could save her. *bowing head for moment of silence*


The details:
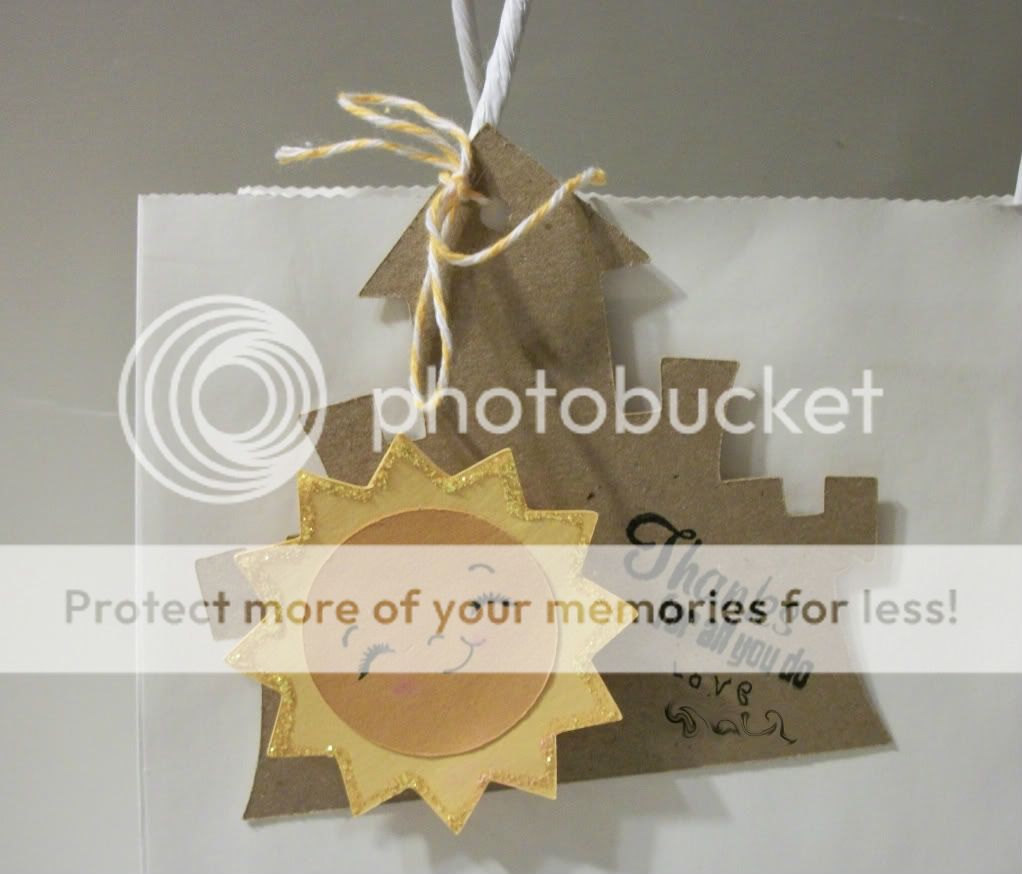
Now that I have given you the official disclaimer, you should know the sand castle is cut at 4 inches from Create a Critter, with the top layer being sandpaper (really people - steal it out of the kids sandbox and xyron it) and the bottom being craft paper. The whole thing is on an action wobble - because that made the packaging fun!

 
The wobble in action!
The sun is also from Create a Critter cut at 2.50 inches, except I replaced the top layer with a 1.5 inch circle from George and a Peachy Keen Stamp. I chalked the cheeks of the sun and also used stickles around the the outside layer for the sparkly effect. I finished the bags off with some MS word art printed on clear labels and adhered to the bag.

The best part is that I loved these bags so much I made coordinating tags to go with the teacher goody bags - which contained a class picture candle and a mini spa kit full of items to help the relaz and rejuvanate!
In the case of the tags, I only used the bottom layer of the sand castle cut on kraft paper (I was tired of fighting with sandpaper - remember -good for distressing, bad for machine) and I put the sun on an action wobble - because I really do love those things. They provide me with so much joy and entertainment! I finished the tags with a Fiskars stamp and had my daughter sign them and attached with some baker's twine. Easy and adorable! That's all for me this month at The BugBytes - see you in August!

Monday, May 9, 2011

More Teacher Appreciation

I know that Teacher Appreciation week is officially over BUT the end of the school year is fast approaching so in case people are wondering what to make that will be useful and easy on the budget - here are the rest of the goodies I put together for my daughter's teachers. There are 6 teachers/aides in her class on a regular basis so they all deserve a treat! Each received a bookmark (the ones from this post) and then I made each a large altered wooden clothespin clip. I thought these would be great for them to use to hang up memos and reminders. I was able to use some of the older carts that I have been neglecting and they are definitely oldies but goodies - and as a bonus I have submitted it to the Circle Magazine challenge!

Here is one set:


All wrapped and ready to present:


A side view so you can see the clip from the side:
All of the clips done:

All of the bookmarks:


The details:

The wooden clothespins I found at ACMoore for I believe $1.19 each, and I hot glued a strong magnet to the back. The polka dot paper is the new Recollections paper from Michael's and comes in a variety of colors. The ribbon was Joann's brand and adhesive backed. Sorry - nothing from Hobby Lobby!

I cut a rectangle of paper to match the front of the clothespin and glued it on. Then I cut a pencil from Locker Talk - at about 6 inches - until it was approximatley the height of the pin. The apple (2.5 inches) with their names on it is from Doodlecharms and I cut it with all the layers and a white blackout piece for the back. After glueing the apple on I mod-podged the whole thing so it would last and be a little bit sturdier.

I used the extra paper to wrap the bookmark and then cut another apple (1.5 inches)  from Create A Critter, using the Gypsy to hide the contours of the face, and then stamped with a Peachy Keen Stamp. It is the Princess set and I just love them - too cute!

For the tag, more of the same paper, and I found this scalloped tag on Christmas Cheer (of all places!) and cut it rather large at 4 inches. This is because I knew my daughter would have to sign the apple and I wanted it to be large enough for her. I then cut the same Doodlecharms apple (3.5 inches) but with just the base cut - and I used chalkboard paper! How cool is that?? It cuts like a dream in the Cricut too.  Then I had my daughter sign in chalk just for more fun, and wrapped them all up with coordinating ribbon.

The teachers really loved them and my daughter is always so happy to give them a treat I think this earned a spot on my repetoire of craft gifts. I may have one more teacher gift post before the school year is done, and then back to the Disney scrapbook grind!

Sunday, May 1, 2011

Some quick teacher gifts

I have been busy with a play and Teacher Appreciation Week snuck up on me without a lot of warning, but I have a few ideas to share with you if it crept up on you too! My daughter is in an inclusive kindergarten classroom so there are many teachers and aides that I like to remember in some small way so I am always on the hunt for a cost effective thank you!

I was at the local Dollar Tree and spotted these metal bookmarks in the craft section, and I was very impressed with the quality of them (almost as much as the price!).


With some scrap paper, ribbon, and a cricut cut they are instantly turned into a pretty gift!

The details:
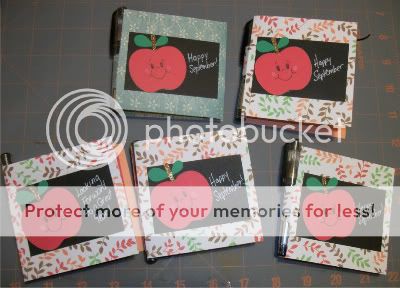
The apple is from Create a Critter and I hid contour on the face of the top layer, and instead used a Peachy Keen face Stamp. It was cut at 1.5 inches. The plaid paper is perhaps from a DCWV fall stack (it was from my scraps drawer so not entirely sure) and the ribbon is by American Crafts.

This project reminded me of one I did in September with the same apple, and I think it would be a wonderful teacher/aide gift this week. These are Post It Holders and you can see a tutorial I did on them here (you would just skip the parts pertaining to the shaker fronts. I believe these apples were probably at least 2 inches but I really have no idea! I used black paper and white pen to simulate a chalkboard effect.


Well I hope you got an idea or two and made it worth your visit! No more plays until the next school year which means more time to craft!

Tuesday, November 16, 2010

Princess Party Week - Centerpieces

Time for the centerpieces!

Now initially we were supposed to have the party in the movie theater and the adjoining cafe area, so I had planned for a bunch of small round tables. Due to scheduling conflicts, we ended staying in the theatre area but I still was able to use all my centerpieces.
  
The crafty details:

These are target dollar pails, and I went back to using my frog prince, cut at 2 1/2 inches for one side. Since I was using vinyl (and had learned from the invites) I used my Gypsy to make sure that the legs were cut of out his tummy, instead of having to layer additional tiny leg pieces. But again, I used the white vinyl and some Martha Stewart glitter to give him some extra sparkle. I also used my I-rock on the crown for additional bling. 

On the reverse side, the happy birthday phrase is from Create A Critter, and cut at 1.60 inches , the number 5 is from from Sweet treats cut at 2 1/2 inches. I also uses the font crown from Once Upon A Princess cut at .60 inches and just layered it on top of the 5 at an angle. Again, that crown needed a little glitter sparkle, but by this time I had gotten tired of using the I-rock, so only one gem as the dot for the "i".

Then I filled the pails with lollipop flowers made from George and Plantin schoolbook, the flowers are cut at 3.75 inches, and are a fabulous idea I got from Kathy Orta. The Tiana decorations were supposed to be hanging ones that I got for like 99 cents at Oriental Trading Company, and I cut little slits in them and put them on sticks instead of wondering if there would be a place to hang them. 

These were also a hit and actually survived about 2/3 of the party before the girls busted into them...oh the slaughter.....at least they did admire them before throwing away my pretty paper!!

Up tomorrow - party table favors!

Sunday, November 7, 2010

Oh Baby

baby baby oh yeah....sorry!! If I have to have that stuck in my head so do you! and since that needs-a-haircut moppet is currently the object of my daughter's affection, we have to listen to that a lot around here!But I digress...

I have been working on these two baby books for a while because I had the brilliant (read stupid) idea to make two 8x8 books for my colleagues who recently had babies; and of course the plan was they would be gifts before the baby was born...umm yeah...so now I will be satisfied if they make it to baby's first Christmas. I went to an all day crop, and got 14 pages done. Before that impresses you, it was really 7 pages done twice, as one is for a boy and one for a girl. Now I only have 4 pages in each left to do...I can see the light at the end of the overextended crafting tunnel!!

On to the pages already!!

The crafty details:

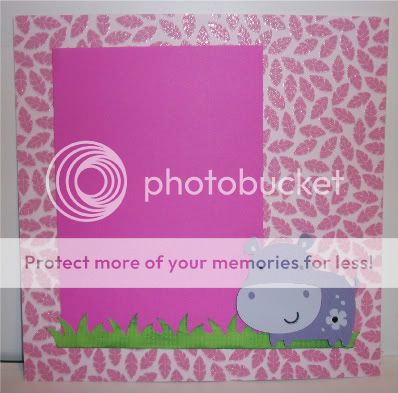
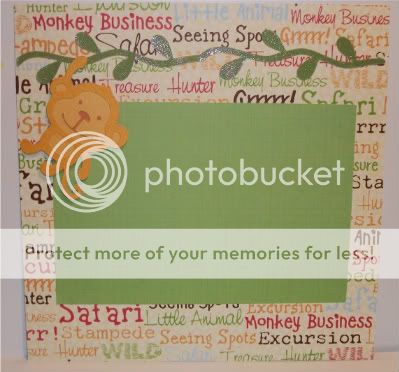
These first set are made using Create A Critter. The original plan was to label each page as "one month" or "two months" but I decided not to restrict them in that way. I might include some cut out tags for them to add to the pages as they wish. I am pretty sure the paper is DCWV Animal Stackers, but I got the larger paper in a repackaged set at Big Lots, but it coordinates with the DCWV photo mat set I got at CKC Buffalo. The monkeys and hippos are cut at 2 and 1/2 inches and the vine and grass are welded together using my Gypsy.
I added some inking to the grass to give it some texture, and it is hard to tell from the pic, but there is a little heat set gem in the flower on the hippo's hiny, as it were.

I used some green matte glitter paper for the first vine, but decided to faux stitch the second vine to mimic the paper, but I am not sure if I am pleased with the way it came out, since it seems to blend in so much.

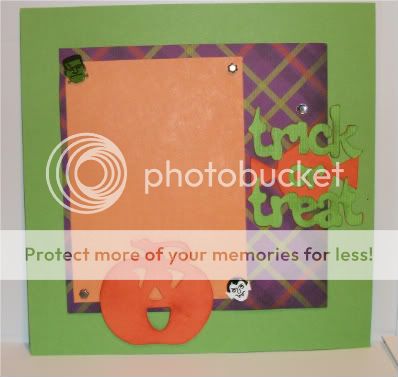
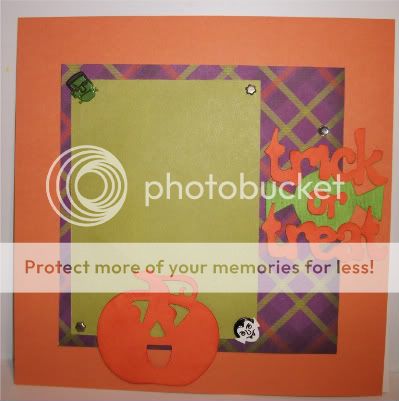
What would a baby book be without some holiday pages? These Halloween pages are made with Mini Monsters for the phrase (cut at 3 and 1/2) and A Child's Year for the jack-o-lattern (cut at 2 1/2). The patterned paper is from the DCWV Midnight Spell Stack - I just love the colors of the plaid.

The cute monster brads are from the Eyelet Outlet, and I did a little bit of inking on the pumpkin and phrase but it is hard to tell from these pics.

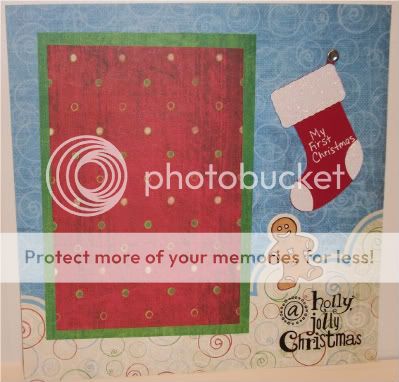
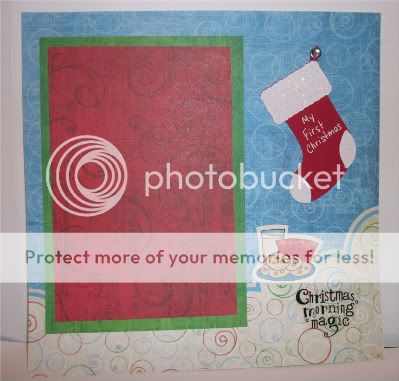
I also did some quick Christmas pages using the paper from a Creative Memories kits that I had purchased. It was all I the Christmas paper I had with me, and I am pleased with the way they turned out.


The stocking is from Christmas Cheer, cut at 2 and 1/2 inches, and attached to the page with a jeweled brad from Oriental Trading.

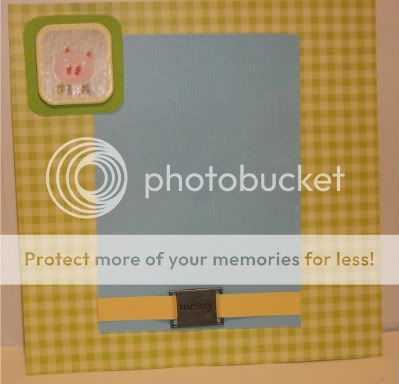
These next pages have no Cricut, but I decided that I needed to use some of all that baby stuff I have collected to good use. The patterned paper in the first set is from K and Company, the titles and chipboard are from atd, and the ribbon slide is from Making Memories.

 
The chipboard says little piggy and the slide says messy.

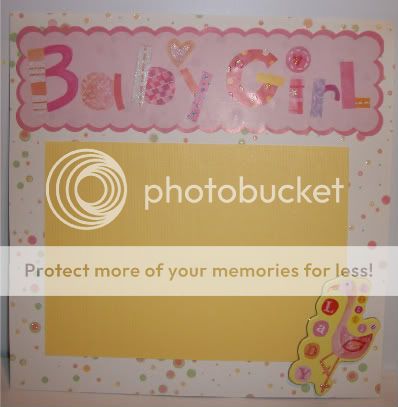
In the next version, the paper is from DCWV Nursery Girl Stack.


In this one the ribbon slide says "oh baby".

And finally to round out my baby pages I did a simple birthday page for the first birthday photo.


The cut is from A Child's Year, cut kind of big - I think 4 and 1/2 inches. You can probably see it a little better in the second picture, I used my Cri-kuts gel pens to draw the image on the first layer in my Gypsy, and then used a shadow cut on the second layer to cut around it.  

Whew! I think the blog post took almost as long as the pages themselves!. I did save myself some time to do some pages for my daughter with Shall We Dance, but they are not quite finished yet.I feel much better knowing I only have 8 more pages until they are done  - what will take me the longest is deciding what they should be. Thanks for looking! I realize some of the photos are distorted, and I apologize - can't seem to get photobucket to cooperate.